Do you want to share your Mac screen with others? Need to share work documents or just want to share a funny video with friends? It’s easy to do, so read on to find out how.

Method 1: Using a Screen-Sharing App
Here are the steps:
1. Enable Screen Sharing on your Mac. Open System Preferences > Sharing and then check the box next to Screen Sharing.
2. Choose a Good Screen Sharing App. There are plenty available, each with its own pros and cons, so make sure you choose one that suits you. Good options are Apple Messages, Google Hangouts, Zoom, and Skype. Install the app on your Mac – you can find most in the Mac app store for free.
3. Invite Others. Send each person you want to share your screen with an invitation code or link. Zoom users can also create a meeting, allowing you to send invitations.
4. Share Your Screen. When all participants are ready, share your screen. How you do this depends on the app you are using, but most offer a Share Screen button or an icon you can click to choose the window you want to share.
5. Adjust the Settings. You can change frame rate, resolution, audio settings, and more to ensure everyone gets the best experience. You can also decide whether anyone else can control the screen.
6. Collaborate. Now you can share with others; share files, videos, presentations, anything you want.
Method 2: Using FaceTime
This is dead simple to do.
1. Open FaceTime and start a call with one or more people.
2. Go to the Menu Bar and click the FaceTime icon; the control panel opens
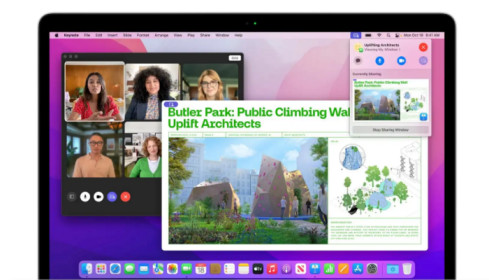
3. Click on Screen Share and share what you want with the others on the call.
Method 3: Share Mac to Mac
If both users have Macs, you can use the built-in screen-sharing facility in macOS.
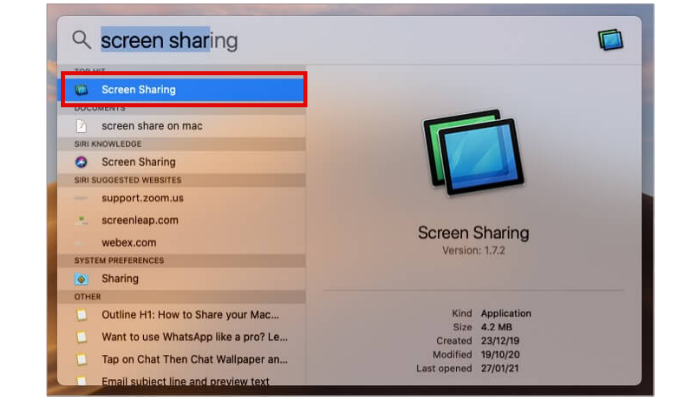
1. Open Spotlight and search for Screen Sharing
2. Double-click the icon to open it
3. You will see a Connect To box. Type the Apple ID of the other person, and they will be sent an invite to join.
4. When they click on Accept on the invitation, they can click on Observe My Screen or Control My Screen – it depends on what they want you to do.
5. Click on Accept, and you will see their desktop on your Mac. Now you can control their machine or simply see it. The first option is recommended if you are trying to fix a problem on their machine.
Be aware that Control Mode will slow performance on both machines, so be patient. You may also notice a difference in quality. If you are purely observing and want control, click on the Control option at the top left of the screen. The other person receives a request, and they can either accept or deny it. Once you are finished, simply click Screen Sharing>End Screen Sharing on either machine.
There you have it – three ways to share your Mac screen, all of them completely free and easy to do.